
This is the continuation of the "Setting up home NAS" series. Better read the below posts to get context.
Setting up home NAS - Part 6 - Raspberry Pi as Media Server using Plex (This post)
Introduction
This post discuss how to enable Plex media server on Raspberry Pi and use within home network.
Approach
At high level we have to do the below steps
- Enable Plex package sources and install Plex
- Browse to http://raspberrypi:32400/web and associate with our Plex account
- Configure the Plex to include our media folders
Let's start.
Enable Plex package sources and install Plex
Below goes the Linux commands to do the same. It needs to be run on Raspberry.
sudo apt-get update
sudo apt-get upgrade
# Enable the package install over https
sudo apt-get install apt-transport-https
# Adding the Plex GPG key
sudo curl https://downloads.plex.tv/plex-keys/PlexSign.key | sudo apt-key add -
# Add the Plex package sources to the apt.
# It basically creats a file with the deb ...
sudo echo deb https://downloads.plex.tv/repo/deb public main | sudo tee /etc/apt/sources.list.d/plexmediaserver.list
# We’re going to update our package list and install from the newly added repository.
sudo apt-get update
sudo apt-get install plexmediaserver
Added some comments to understand. In case of queries, please add comments. Once Plex is installed we need to configure.
Browse and associate with Plex Account
First naviate to http://raspberrypi:32400/web . The port 32400 is the default port for Plex. Please make sure the protocol prefix is http not https. It will load the screen as follows.
Note that the URL changed from our RaspberryPi host name to app.plex.tv after some redirects. Click on sign-in and use approprate method. Once signed in, it will redirect back to the page as shows below.
At this point our local RaspberryPi hosted Plex is connected to the credential we provided.

This is simply saying how it works. Once you click on got it. It asks for the Plex pass.
It we can, better support them by buying the pass. Yes, it supports totally free mode as well. We can click on close button to skip payment. Up on closing it will take to server setup.
We can see it can expose our media accissible from internet. In order to do that we need a router that is supporting UPnP or NAT-PMP feature. Also the port forwarding to 32400 ¹. This tutorial is moving forward to restrct access only with the home network, not internet. In case we change our mind, it can enable later as well.
The next step is to add our media folders to the Plex.
Click on the add library 
This tutorial is adding an audio library of type Music. The library name will be Music. Click next.
 Click on 'Browse for Media Folder' to get the media folder selection screen.

Browse the folders or enter the path to our folder containing audio files. This is the path in Raspberry. The path in the screenshot is where the external hard drive is mounted that contains files. Click on the "Add" button and will land on the next screen. Click on the add library to add finish adding folder to Plex.

The same task of adding folder(s) can be done after completing the initial setup also. Click on Next.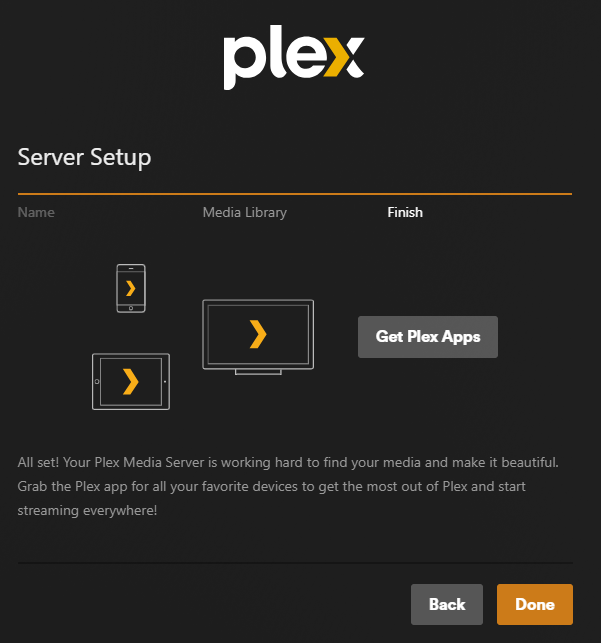
At last we are done by clicking the "Done" button. It is time to navigate to the Plex that we setup. Browse to http://raspberrypi:32400/web and we will reach the screen as below.
Again please note the Url protocol is http not the secure https.


Now it is time to access it via the Plex web site. Naviagate to https://app.plex.tv in the browser.

In case there are issues like secure connection issue as shown above, we need to wait till the DNS is propagated. Plex is using some documented magic² to retrieve the contents from Raspberry Pi to their web site and apps through our home network.


Configure to include our media folders
If we need to add other folders to Plex, mouse over the name of server (here it is Raspberrypi) use the + button and point to the right media folders in Raspberry Pi.
Media organization
Note that when we add the folder, Plex has to do indexing behind the scene to a database³. Depending on the storage speed and Raspberry specs, indexing time varies. After indexing only the media files will start showing up in the UI.
When we add new media files or remove, we need to run scanning⁴ again to update the Plex index.
If there is more interest, have a look at the below references. Have fun with Plex.
References
- ¹ - Enable remote access
- ² - How to secure server connections.
- ³ - Location of Plex database
- ⁴ - https://support.plex.tv/articles/200289306-scanning-vs-refreshing-a-library/
- https://thepi.io/how-to-set-up-a-raspberry-pi-plex-server/
- https://jayden-chua.medium.com/plex-ify-your-raspberry-pi-bc4902bfa91a

No comments:
Post a Comment